DPM Getting Started Guide
Unboxing System
All systems come in very carefully packed boxes. Make sure you keep these boxes so that they can be transported safely.
1. When the box arrives it will have a label on the top. Before opening box follow the instructions on the label.
If any damage is found externally or internally contact support immediately at 888-621-5558 or support@covertlawenforcement.com.
2. Cut open the box and take the two foam pieces out
There are now two important items in the box. The cords and the DPM. Put the cords to the side, the focus will be the DPM right now.
3. Take the DPM out of the box.
4. The DPM is covered in a blue protective tape. There is a label on this tape that gives an initial setup guide. Cut along the door frame so the knife has room to cut through. Peel back the protective tape.
5. Make sure to get the key fob package out of the back bracket beneath the blue tape
6. Unlocking the back key latch
7. Push the top compartment backwards and pull up. (This will separate the components compartment with the shroud)
8. Remove the foam inside the enclosure
9. Put the DPM back together and lock the back key latch
Understanding Components
Here is a list of all the components and what they do:
Key Fob Package: This package is on the back of the box underneath the blue protective tape. Opening up the package will reveal two key fobs and two keys. These key fobs should only be used for resetting the system. To learn more about resetting the system go here.
Pole Mount Straps: Used to connect the DPM to a pole.
T20 Torx Screw Driver: Use this torx screw for the Axis Camera.
Mounting Bracket & Metal Connection Bar: Attach this bracket to the Pole Mount Straps then slide the DPM onto this bracket. Lock the bracket to the DPM by putting the Metal Connection Bar through both the DPM and the Mounting Bracket.
Pole Mount Lag Bolts: Lag Bolts to use with the Pole Mount Straps.
AC Power Cable: Connect one the wall outlet end to the wall outlet. Connect the three prong CNLINKO end to the DPM to power the device.
Stripped Power Tap Cable: Taps into a powerline with the three open wires and goes into the DPM with the three prong CNLINKO. This cord is only to be used by professionals.
Powering Up The DPM
Powering With AC Power Cable: Plug the CNLINKO three pin connector into the corresponding connection on the DPM. Plug the AC wall outlet connection into the wall outlet to give the system power.
Powering With Stripped Power Tap Cable: This should onlybe done by a professional.
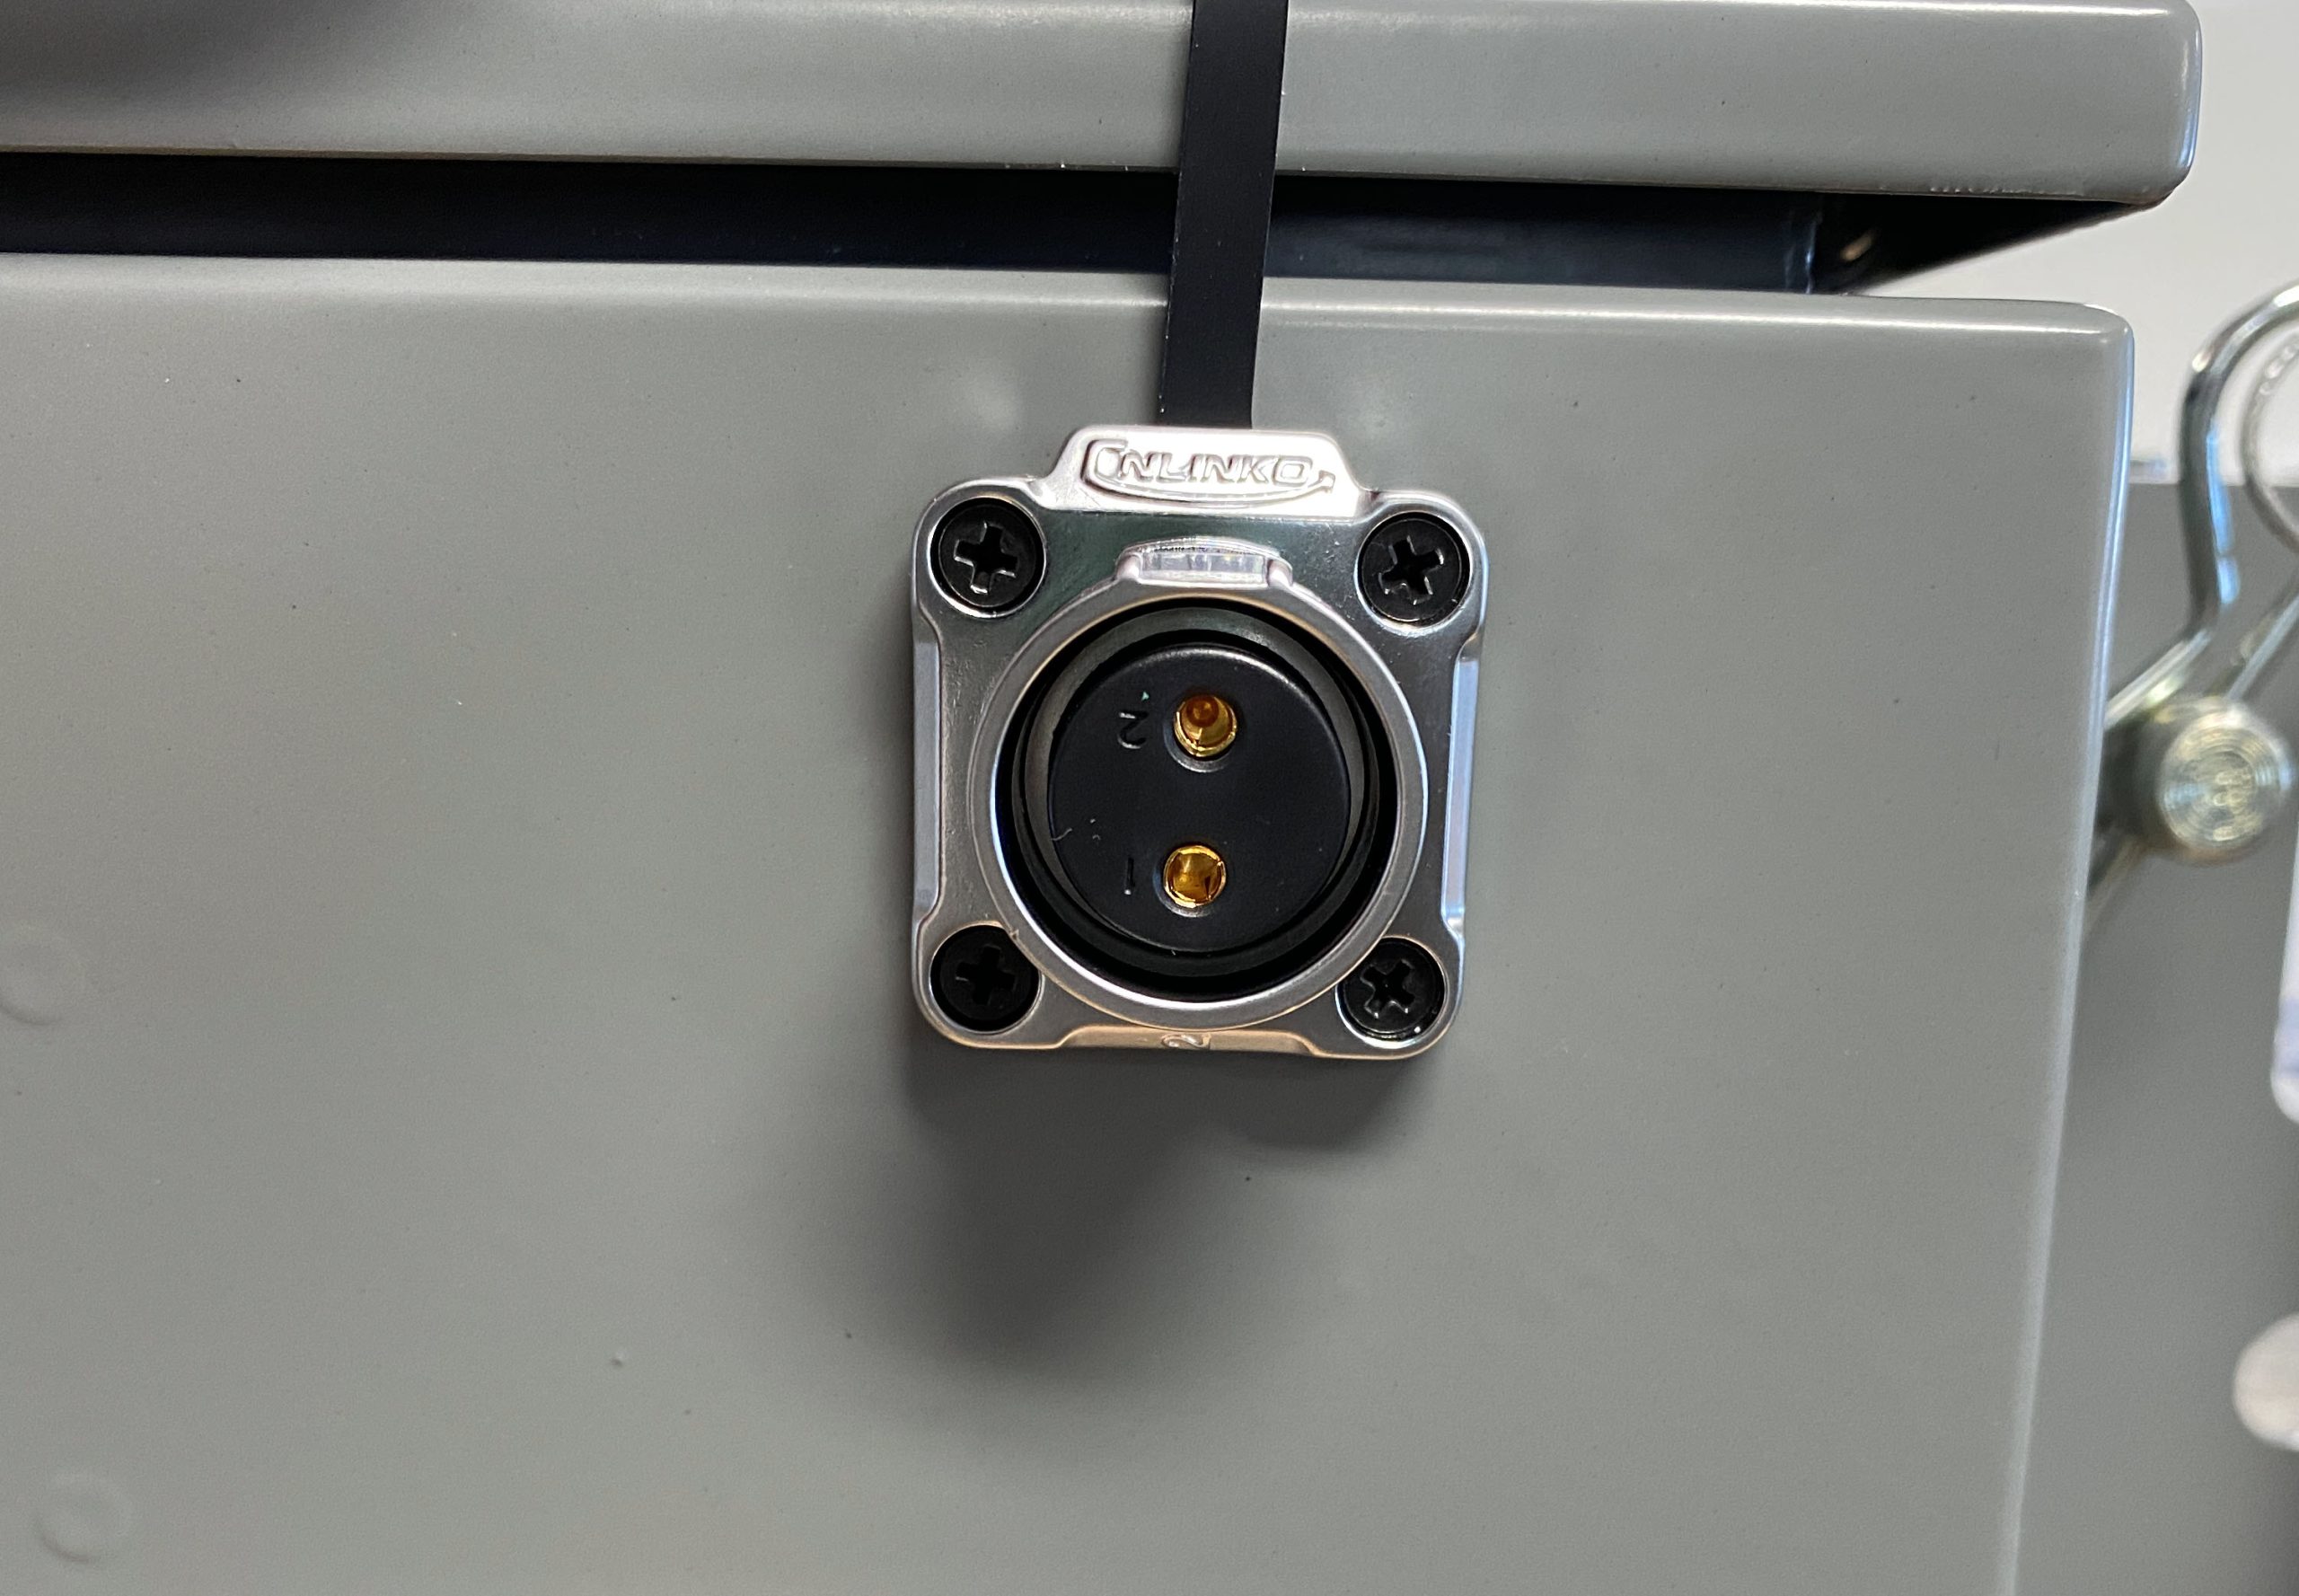
Power Through Battery Pack: Plug in one side of the two pin CNLINKO connector into the DPM. Connect the other side to the batter pack. Make sure that battery pack is on. For more information on how to turn on a battery pack go here.
Overt Deployment
1. Unlock the back key latch
2. Push the top compartment backwards and lift up
3. Flip the compartment upside down and interlock the compartment.
4. Lock the back key latch to keep it from detaching
There are many options in Axis Companion. Here is a quite run down of the most important options:
1. Live view: Shows all the cameras live view
2. Recordings: Shows all the cameras recordings that are stored on the external SD card
3. Configuration: Assists in configuring camera settings
4. Camera live view
5. Camera selection. (Only applicable in single camera mode)
6. Grid mode: Shows all of the cameras at once (Click the same button again to get out of Grid mode)
Anywhere you click on the camera's live view will move the camera to where you clicked. Rolling the mouse up and down will zoom the camera in accordingly.
Warranty Information
Do not factory reset, tamper with, modify, or improperly use this system without prior permission.


